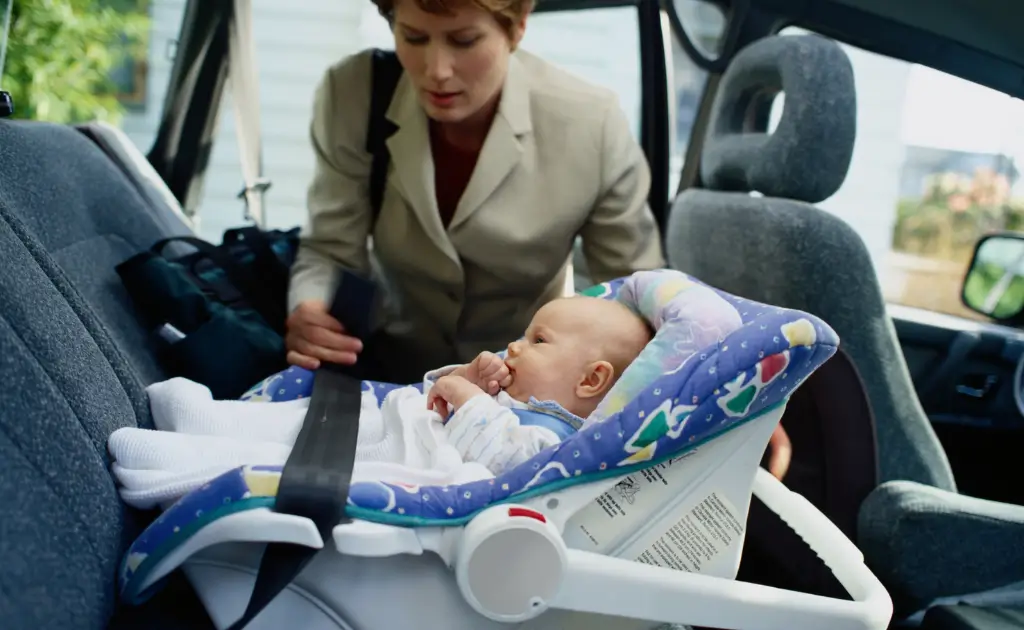
Bringing your baby home for the first time is one of the most beautiful and heartwarming moments for any parent. But before that big day arrives, there’s one essential task you must master: installing your infant car seat safely and correctly. A properly installed car seat isn’t just a legal requirement—it’s your baby’s first line of defense on the road. Many parents assume that as long as the seat “looks” secure, that’s good enough—but in reality, most car seats are installed incorrectly, leaving babies at serious risk during a crash.
A nationally representative survey by the National Highway Traffic Safety Administration (NHTSA) observed the use of baby car seats for child passengers (birth to 8 years old). The results showed that while94%of children were restrained in car seats or booster seats, 46% of these seats were misused, potentially compromising their safety. The misuse rate for rear-facing infant car seats was49%, which shows that many parents incorrectly install an infant car seat.
Proper installation isn’t just about clicking it in; it’s about precision, angles, and understanding your car’s safety system. This guide breaks down the process into 5 steps, making it easy to follow so you can install your infant car seat correctly and ensure your little one’s safety on every ride.
Step 1: Understand The Basics of Infant Car Seat
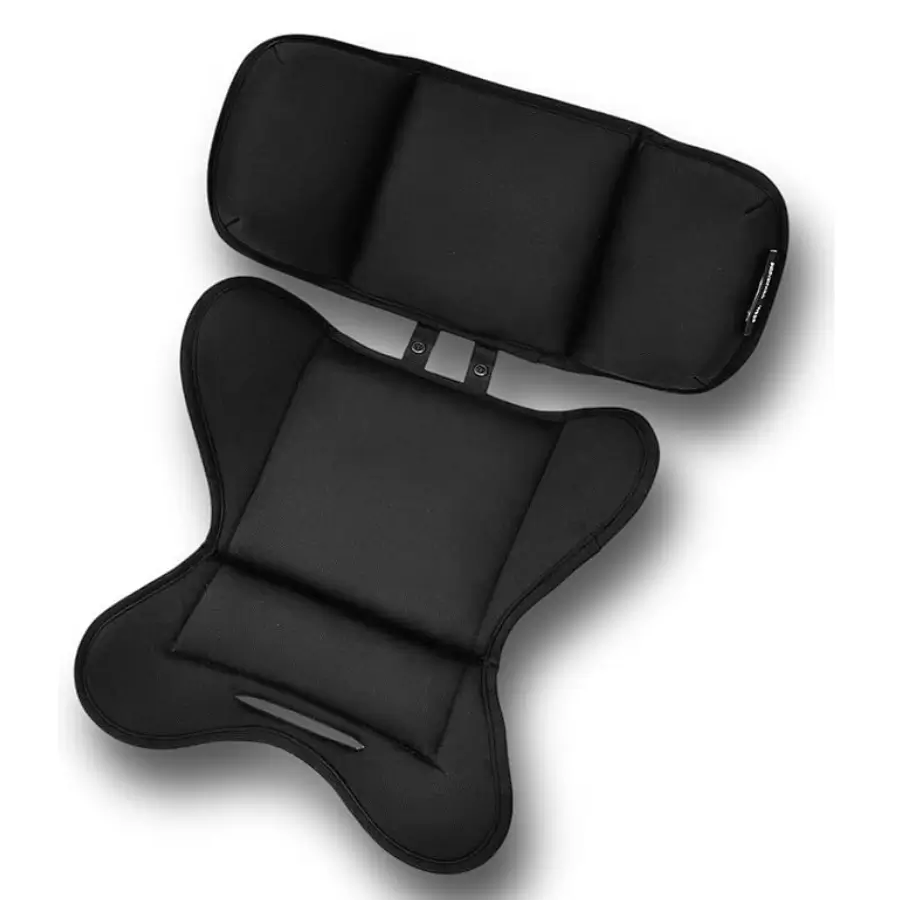
Before you even begin the installation, it’s essential to understand what an infant car seat is and how its key components work together to protect your baby. Knowing the purpose of features like the base, harness system, and recline angle indicator makes the installation process much easier and safer.
If you want to understand more about the components of an infant car seat and how each one works together to keep your baby safe, check out our beginner’s guide 👇
🤔 Not sure what to consider when buying an infant car seat? Please view our 2025 Buyer’s Guide👇
✅ Don’t Have a Car Seat Yet?
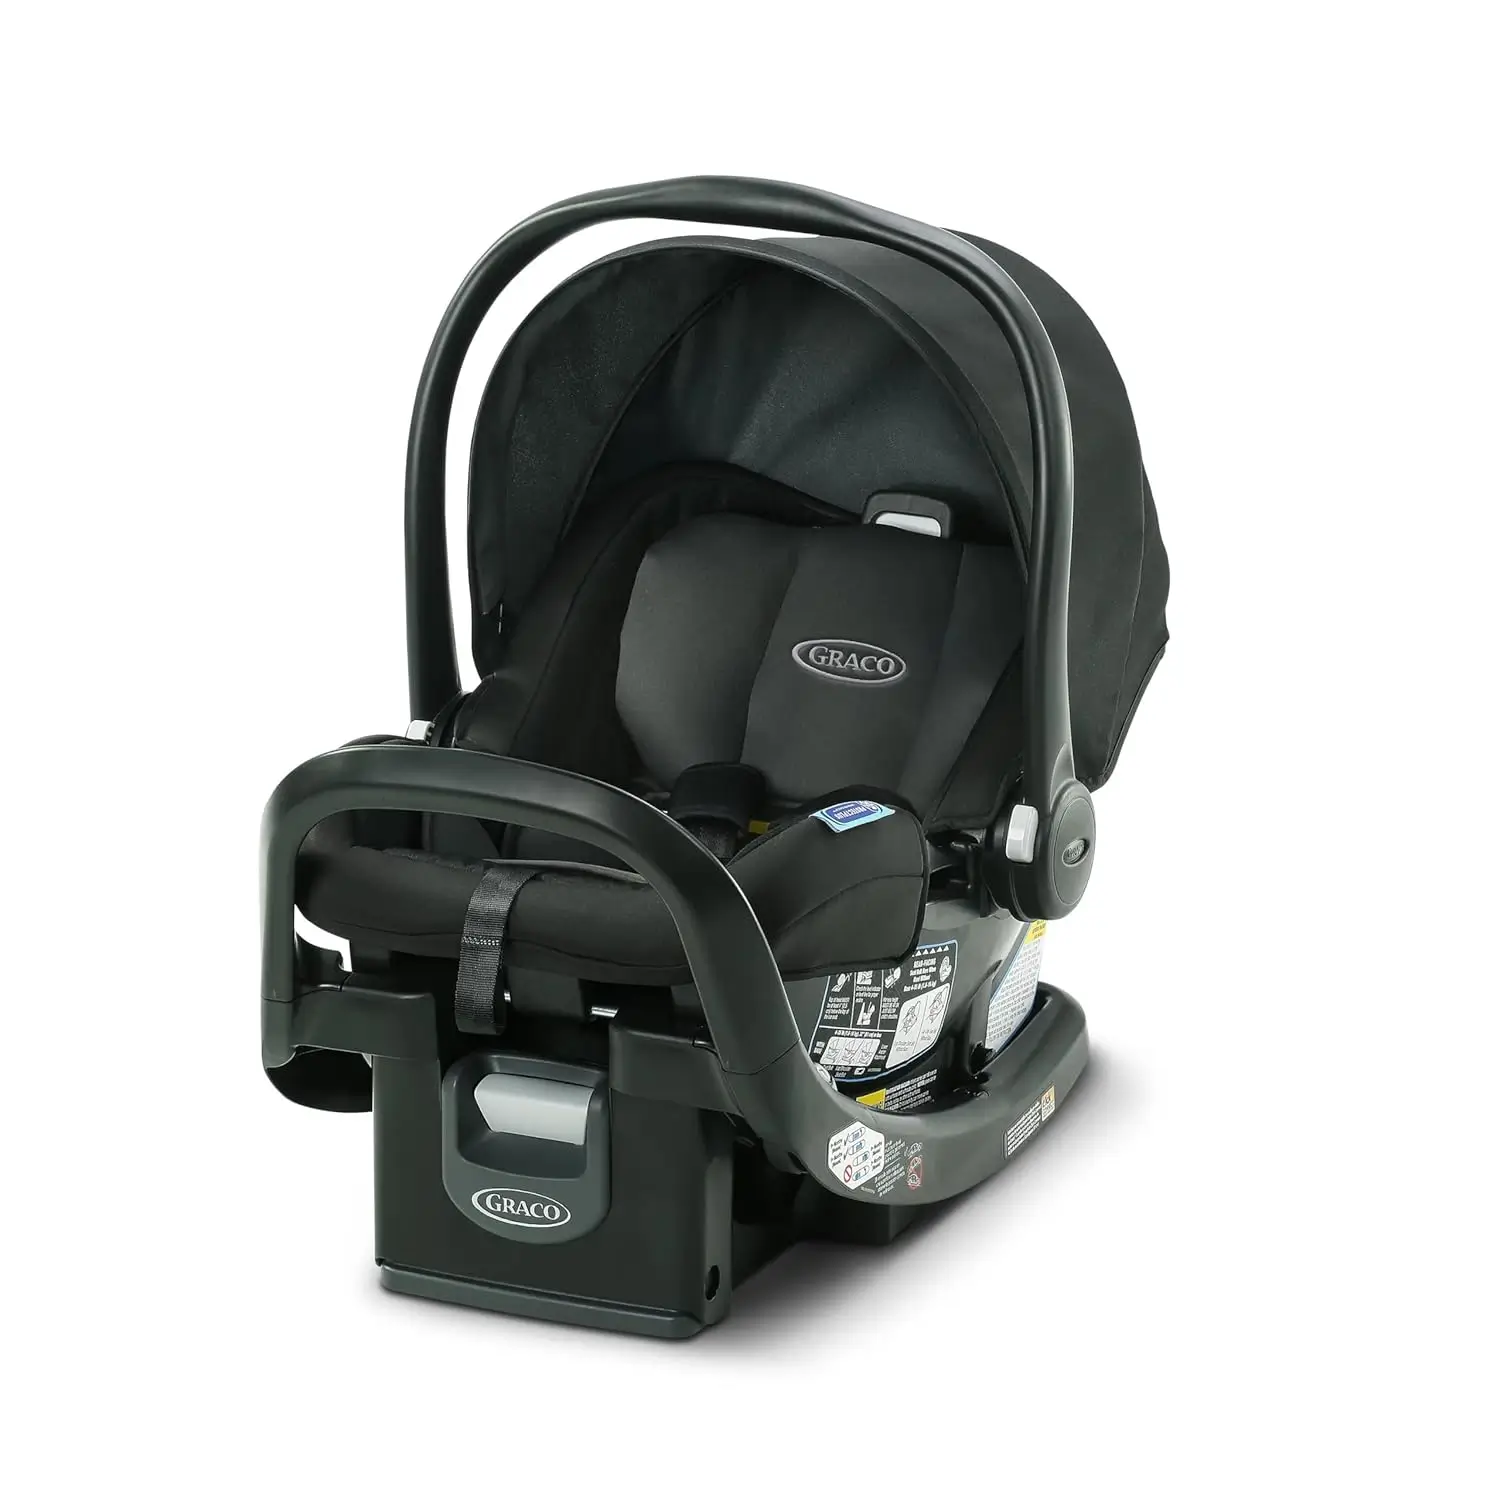
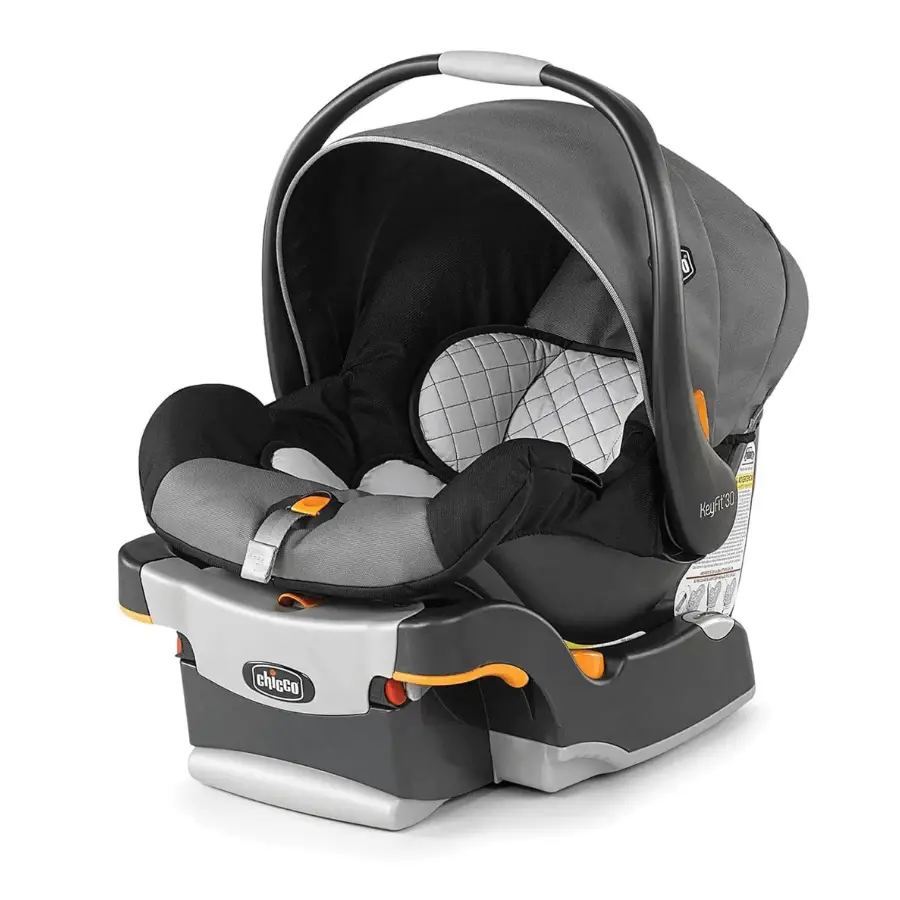
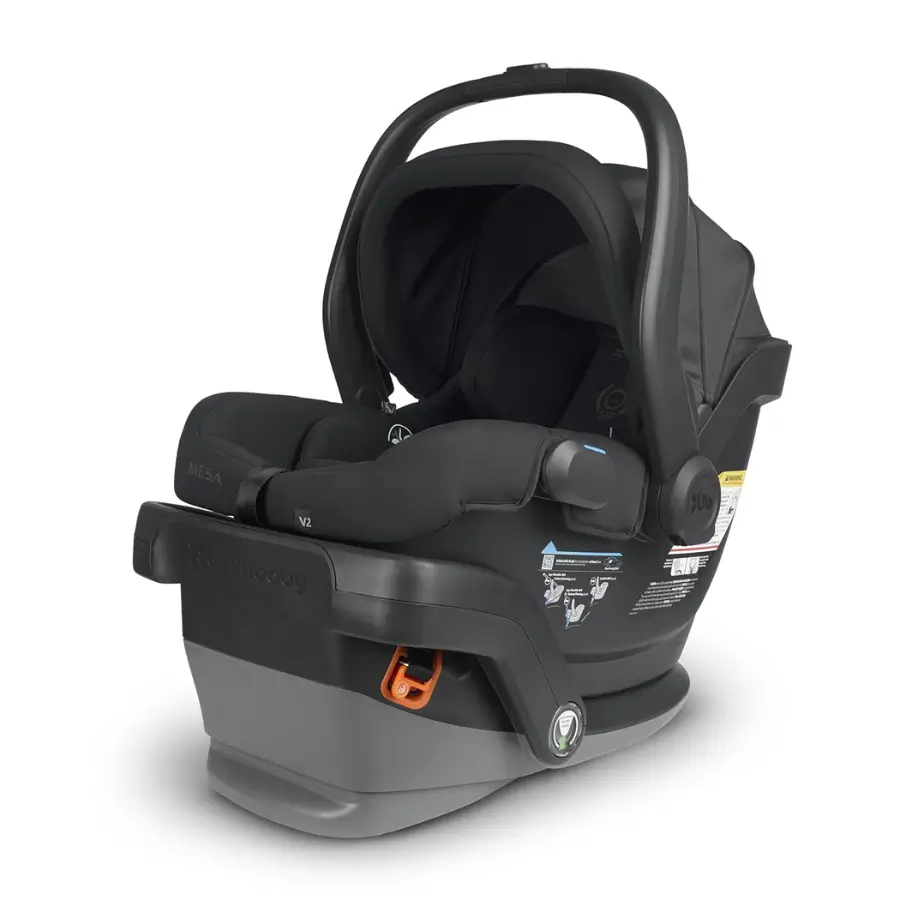
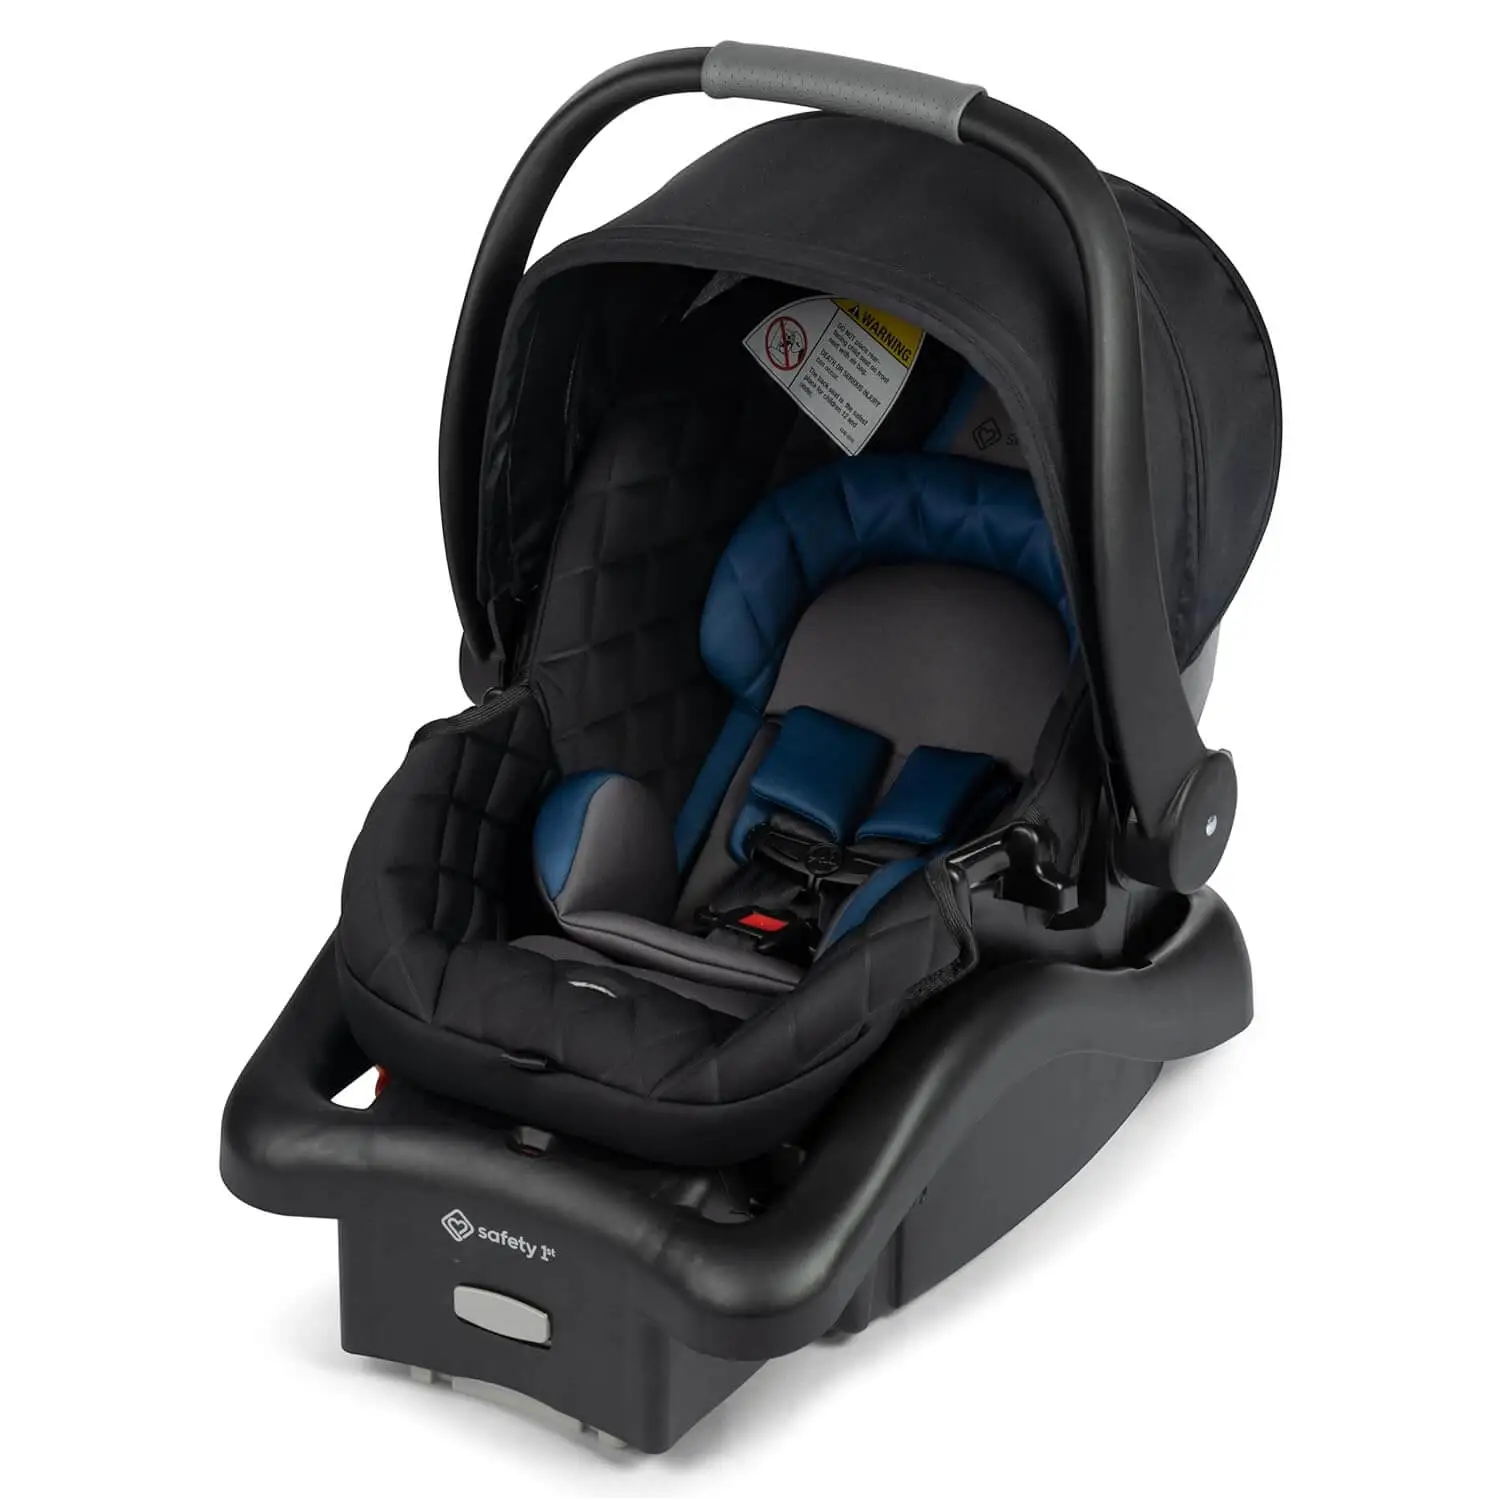
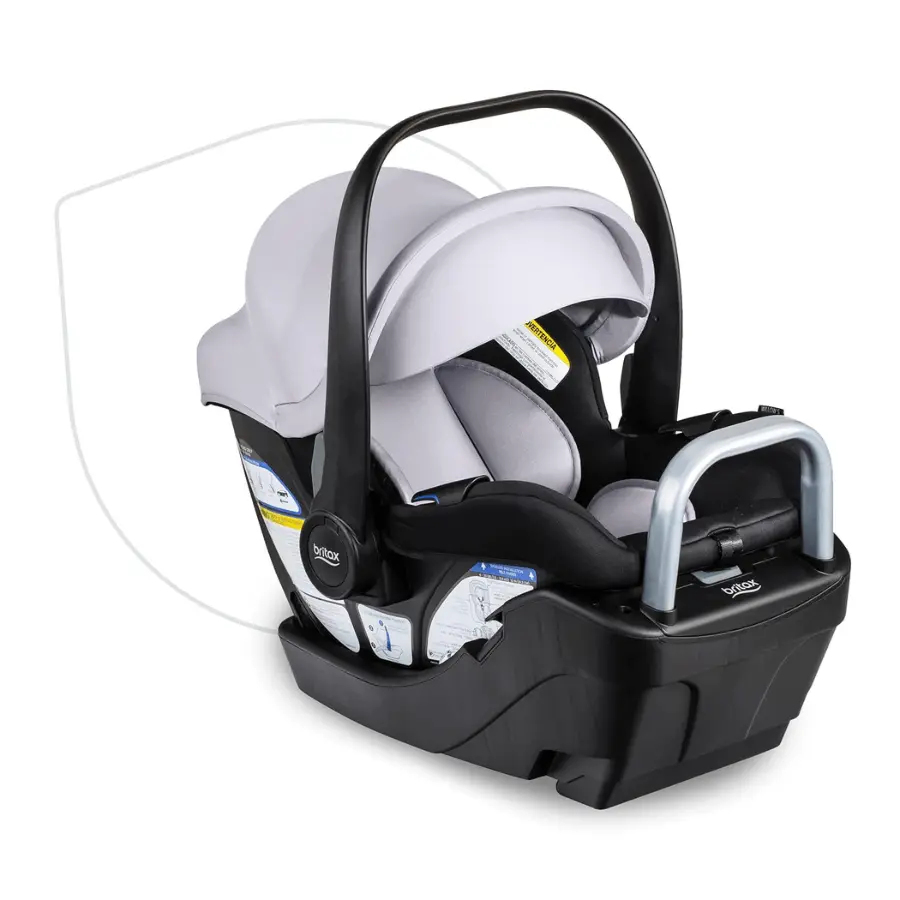
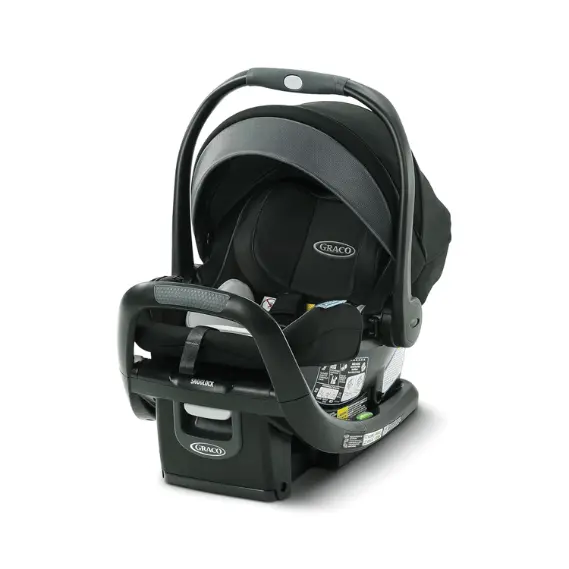
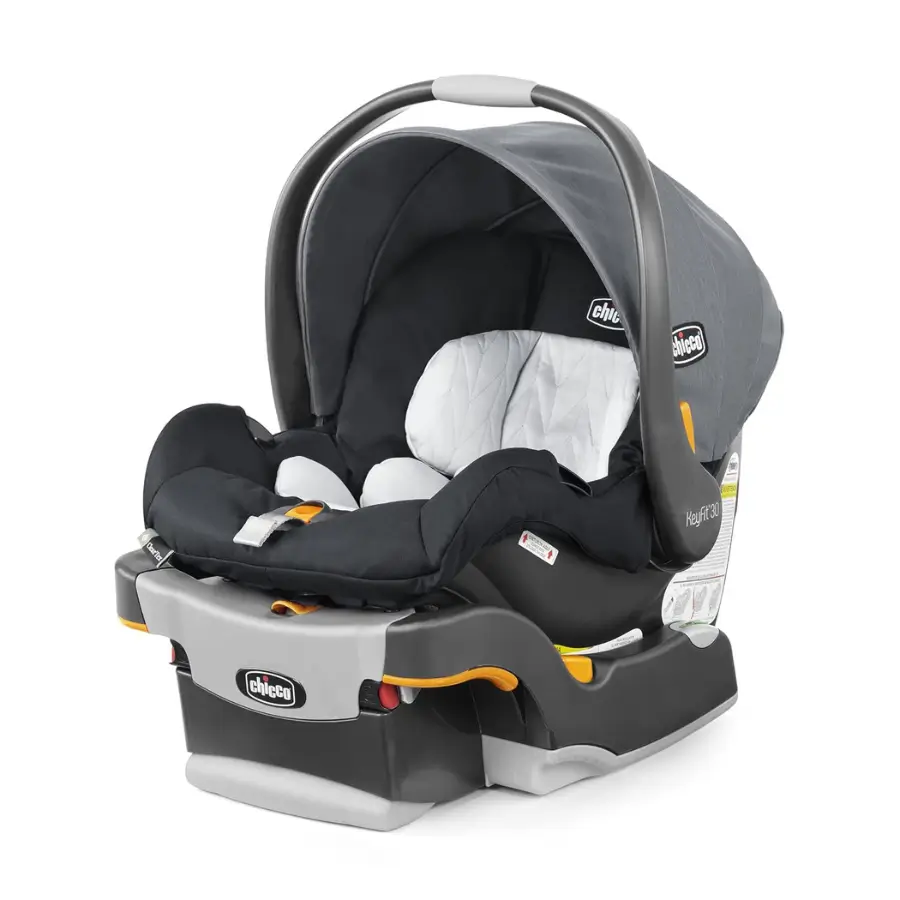
Before mastering the installation process, ensure you have the right infant car seat for your little one. Check out our expert picks 👇
5 Best Infant Car Seats in 2025
Trusted by parents for safety, comfort, and ease of use!
Step 2: Get Ready for Installation
Preparation is key to getting it right, so take your time installing a car seat.
Checklist Before You Begin
- Read the manuals before you install a car seat. Both the car seat and vehicle manuals contain helpful information.
- Locate the attachment points: Find your car’s LATCH anchors or seat belt path.
- Adjust the car seat for your baby: Make sure it’s for their current weight and height.
Choosing the Best Spot In The Car
Safety experts agree that the back middle seat is usually the safest spot because it’s far from potential side impacts. This knowledge can reassure you and give you confidence in making the best choice for your baby’s safety. However, if your car doesn’t allow installation in the middle, one of the side seats will work. Always follow the car and car seat manufacturer’s guidelines.
Why Proper Positioning Matters
The effectiveness of the seat in a collision may be affected if it is loose or positioned incorrectly. Ensuring the seat is tightly secured and positioned correctly could save your baby’s life in an accident.
Step 3: Install An Infant Car Seat
Many parents believe everything worked out when they installed one car seat. In reality, each car seat and vehicle has its challenges. There are important details to remember, whether using the LATCH system or a seat belt. Don’t stress—this section breaks down the steps clearly so you can confidently install your infant car seat like a pro.
Step-By-Step Installation Using The LATCH System
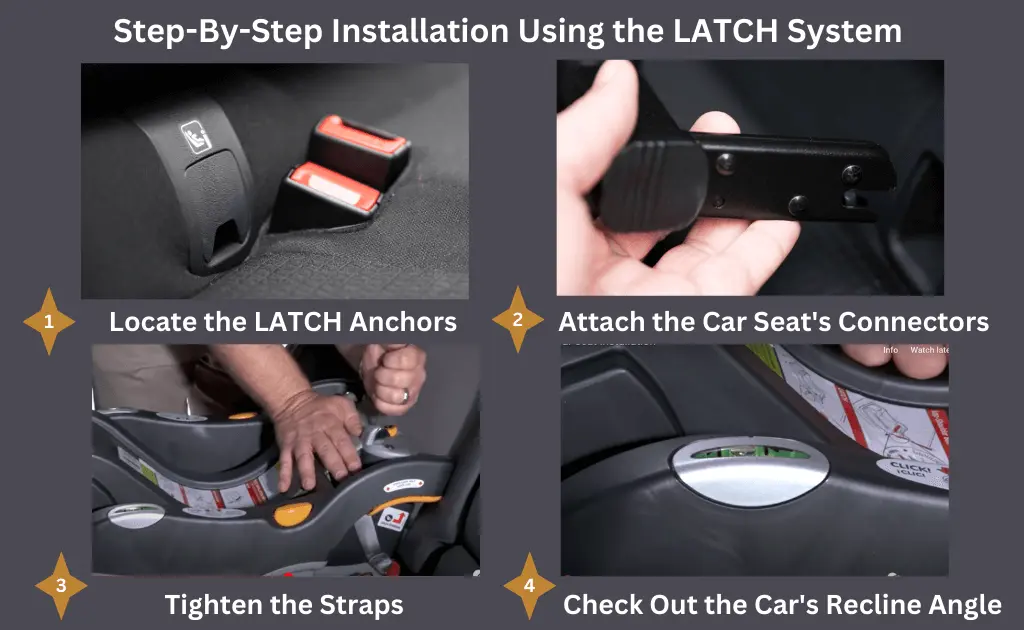
The LATCH system simplifies car seat installation by eliminating the need to rely on a vehicle’s Seat belt. If this system is installed in your vehicle and car seat, follow these steps:
1. Locate the LATCH Anchors In The Vehicle
Most modern vehicles have two lower anchors in the back seats. These are usually horizontal bars or slots in the vehicle seat back. Your car’s manual will tell you their exact location.
2. Attach the Car Seat’s Connectors
Every infant car seat base has LATCH connectors attached to the car anchors. Carefully attach the connectors to the lower anchors in the seat. If they are firmly connected, you will hear a noticeable “click” sound.
3. Tighten the Straps
Look for the adjustment straps connected to the LATCH connectors. Pull on these straps until the car seat base moves no more than an inch in any direction.
4. Check Out the Car’s Recline Angle
Use the car seat’s recline indicator to ensure it’s at the proper angle for your baby’s age and size. The correct angle ensures your baby’s head doesn’t tip forward.
5. Double “Check” Everything
Once the LATCH system is in place, shake the car seat base. If installed correctly, it should barely move.
Step-by-Step Installation Using A Seat Belt
If your vehicle doesn’t have LATCH anchors or is challenging to locate, you can install the seat using a seat belt. If you need to use your vehicle’s Seat belt instead, don’t stress—it’s just as safe when done right. The following simple steps will help you make sure your baby’s car seat is secure and snug.
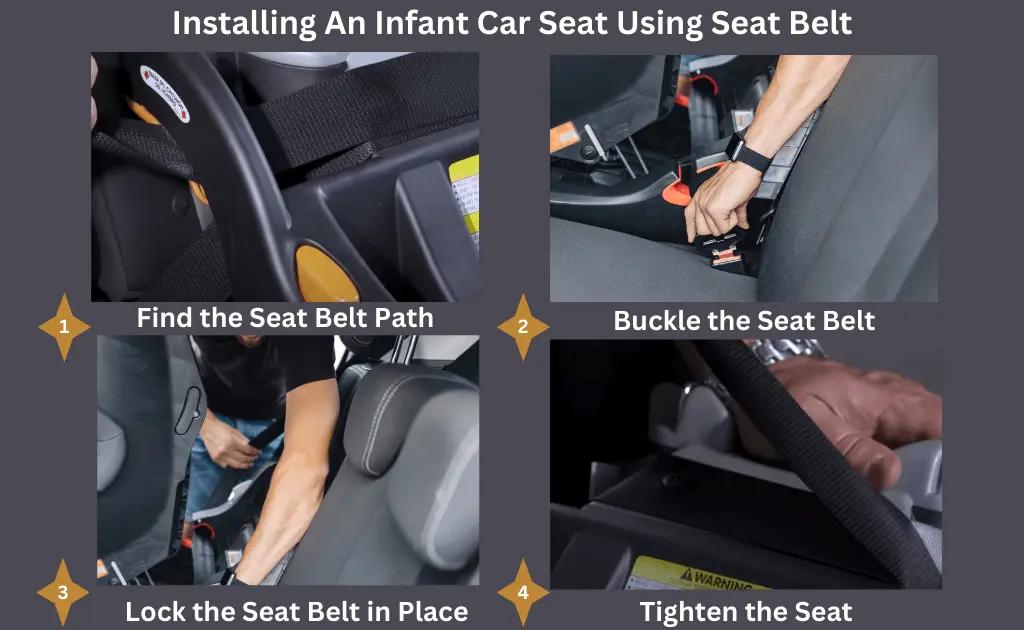
1. Find the Seat Belt Path
First, check your car seat base for seat belt slots. These are the paths on which the Seat belt should go. Thread the belt through the correct openings. Keep the seat belt flat, and do not twist throughout the path because twists can create slack.
2. Buckle the Seat Belt
Now, it is time to click the Seat belt securely into the buckle. You should hear a firm click sound, which means it’s properly latched.
3. Lock the Seat belt in Place
Locking the Seat Belt prevents it from loosening. You pull the Seat Belt out in most cars and slowly let it retract. This process locks it in place so it won’t slide back and forth. If you’re unsure how your car’s seat belt lock works, check your vehicle’s manual for details.
4. Tighten the Seat
Press firmly down on the car seat base with one hand while pulling the Seat Belt tight with the other. The goal is to get it snug—the base shouldn’t move more than an inch from side to side or front to back.
5. Do a Final Safety Check
Give the seat a good shake at the base. If it shifts more than an inch, tighten it again. If unsure, you can always have a certified car seat technician check it for extra peace of mind.
💡 Pro Tip: If your car seat comes with a built-in lock-off mechanism, use it! It’ll keep the Seat belt securely in place, so you don’t have to rely on your car’s seat belt lock.
Credit: National Highway Traffic Safety Administration (NHTSA)
Exceptional Cases: How to Install an Infant Car Seat Without a Base
Sometimes, you may need to install a car seat without its base—this is common when using rideshare services, taxis, or a friend’s car. This method provides flexibility for traveling parents and ensures that the baby stays safe even without the convenience of the base.
Step-by-Step Guide to Secure the Seat Using a Seat Belt
- Place the Car Seat on the Vehicle Seat – Ensure it’s positioned rear-facing at the correct angle (use the recline indicator on the seat).
- Thread the Seat belt through the Belt Path – Look for the marked belt path on the car seat.
- Buckle the Seat Belt – Fasten the seat belt securely and ensure no twists.
- Lock the Seat belt – Pull it out to engage the locking mechanism, then slowly let it retract while keeping it tight.
- Tighten and Check – Push firmly on the car seat while tightening the belt to remove any slack. The car seat should not move more than 1 inch from side to side or front to back.
Safety Precautions for This Setup
- Always double-check that the Seat belt is appropriately locked.
- Ensure the seat is reclined at the right angle to prevent the baby’s head from slumping forward.
- Avoid using this method for extended periods—whenever possible, use a base for better stability and ease of use.
- Review the car seat manual to see if there are any specific instructions regarding installation without a base.
Step 4: Perform Safety Checks After Installation
You should go through some safety checks to ensure everything is properly in place. Here’s how to double-check your work:
1. Ensure a Tight Fit
- Grab the car seat near the base and give it a firm tug. If it moves more than 1 inch side-to-side or front-to-back, it’s too loose.
- A properly installed seat should feel snug and stable.
2. Check the Recline Angle
- Most infant car seats have a recline indicator (often a bubble or line gauge). Make sure the angle is within the recommended range.
- If the seat is too upright, the baby’s head may slump forward, obstructing breathing.
3. Secure the Harness Straps
- Perform the “pinch test” to ensure that the harness is snug. If you can pinch the strap material at the shoulder, it’s too loose.
- The chest clip should be levelled at the armpit, not lower.
4. Confirm LATCH or Seat Belt Locking
- If you use the LATCH system, check that the connectors are securely latched and the strap is tight.
- Confirm if the belt is routed correctly and locked for installation to prevent slack.
5. Inspect the Tether (If Applicable)
- Most infant car seats do not require tether straps because they are rear-facing and rely on the car’s seat belt or LATCH system for a secure installation. Tether straps are typically used for forward-facing car seats to reduce forward movement during a crash. If your infant car seat has no tether, don’t worry—it’s designed to keep your baby safe without one. Just ensure the base or seat is installed snugly with minimal movement.
6. Final Walkthrough
- Double-check the entire setup. Look for any loose ends, missed steps, or incorrect placements.
- Give the seat another quick shake to confirm it’s stable.
7. Seek Professional Help
If you have difficulties installing an infant car seat, it is better to consult a Certified Child Passenger Safety Technician (CPST).
Visit your local fire station, police department, or hospital. Many host free car seat check events or have certified technicians on staff.
8. When to Seek Help
- If your car seat or vehicle manual is unclear.
- If you’re unable to achieve a secure installation.
- When transitioning to a different type of car seat (e.g., rear-facing to forward-facing).
- After an accident, check for damage or wear on the seat.
Step 5: Avoid Common Mistakes
Even when you follow instructions, mistakes can happen. The most frequent installation mistakes are listed here, along with tips for avoiding them:
Loose Installation
- One of the most common issues is a car seat that isn’t tightly secured. Remember, the seat shouldn’t move more than 1 inch in any direction. Always give it a firm tug after installation to check for movement.
Incorrect Harness Positioning
- Parents often position the harness straps too high or too low. The harness should be at or below the baby’s shoulders for rear-facing seats.
- Always perform the “pinch test” to ensure the harness is snug but comfortable.
Misplacing the Chest Clip
- The chest clip is designed to keep the harness in the correct position. Placing it too low can result in serious injuries during an accident.
- Ensure the chest clip sits at armpit level, not on the stomach.
Wrong Recline Angle
- If the seat is too upright, the baby’s head can slump forward, potentially obstructing its airway. Use the recline indicator provided on the car seat to set the proper angle.
- If necessary, place a rolled towel or pool noodle under the base to achieve the correct recline.
Skipping the Final Safety Check
- Many parents forget to do a final check after installing the seat. Take a moment to double-check the fit, recline, and harness.
- Consult your car seat manual and vehicle owner’s manual for specific guidance.
Using Both LATCH and Seat Belt
While it may seem like extra security, using both systems together is not recommended. Stick to one method.
To explore which method is best for you, visit 👇
Transitioning Too Early
Moving your baby to a forward-facing seat before they reach the recommended weight and height limits can increase their injury risk in a crash. Keep them rear-facing as long as possible.
- Most experts recommend staying rear-facing until age 2 or until your child outgrows the height or weight limit specified by the manufacturer.
- Look for signs like the baby’s head being less than 1 inch from the top of the seat shell.
Using an Expired or Accident-Damaged Car Seat
Car seats expire due to material wear and safety regulation updates. Never use a seat in a crash—it may have hidden damage that compromises its effectiveness.
Skipping Regular Safety Checks
Always check for a tight installation, secure straps, and proper positioning before each trip. If unsure, have a certified car seat technician inspect it.
Frequently Asked Questions
What is the safest way to install an infant car seat?
The safest way to install an infant car seat is to follow the manufacturer’s instructions and your vehicle’s manual. Ensure the seat is rear-facing, securely attached using either the LATCH system or the seatbelt, and passes the “inch test” (shouldn’t move more than an inch in any direction).
For step-by-step details, visit: Install an Infant Car Seat
Can I use the LATCH system and seatbelt together for an infant car seat?
No. Most manufacturers advise using either the LATCH system or the seatbelt—not both—since combining them can affect crash performance.
How tight should the harness straps be?
The harness should be snug enough that you can’t pinch any excess webbing at your child’s shoulders. The chest clip should be positioned at armpit level for maximum safety.
What is the correct recline angle for an infant car seat?
The recommended angle for an infant car seat is between 30 and 45 degrees from upright. Most infant car seats come with a built-in recline indicator. The seat should be reclined enough to keep the baby’s airway open but not too far back. Adjust the recline using the provided mechanism or a rolled towel under the base if needed.
When should I stop using the infant car seat?
Once your baby exceeds the seat’s weight or height limit (usually around 30-35 lbs or when their head is within an inch of the top), transition to a rear-facing convertible car seat. Always check your car seat manual for specific guidelines.
Final Thoughts
Learning how to install an infant car seat might seem complicated initially, but it becomes a simple process with the proper guidance. Understanding the fundamentals and breaking down the steps makes installation easy, whether using the LATCH system, a seat belt, or installing without a base. Always prefer proper installation to convenience, which gives you peace of mind on the road.